How to Create Wave or Moire Pattern in Illustrator?
In my previous post, I've made an Illustrator pattern called moire or wave pattern and it is totally free for both personal and commercial projects and you can modify it. But now in this post I'll show you a step by step guides to teach you how to use Illustrator to create this awesome pattern by yourself.
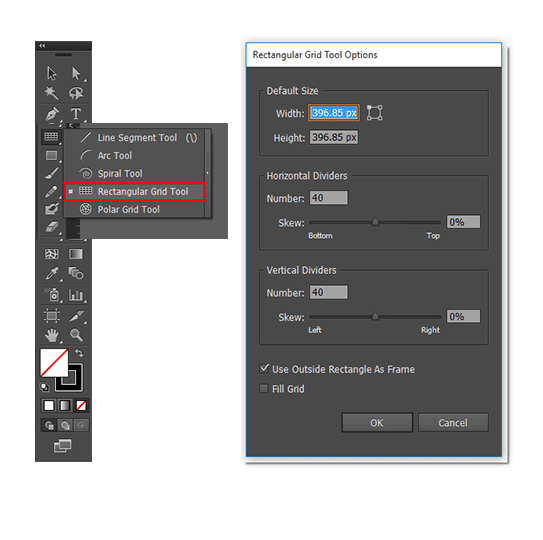
1. Create a Grid via Rectangular Grid Tool
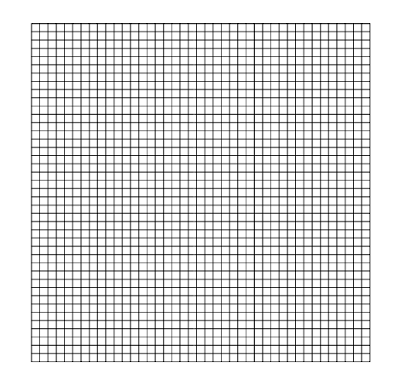
Result
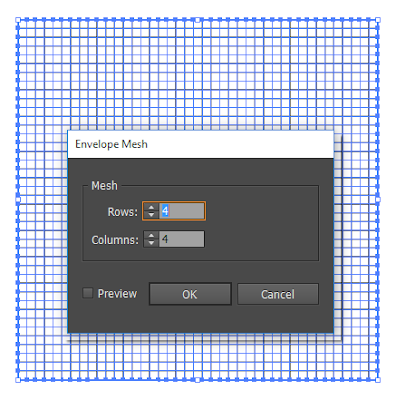
2. Select it and create a mesh envelope through Object > Envelope Distort > Make with Mesh. Choose an equal number of rows and columns. Like below.
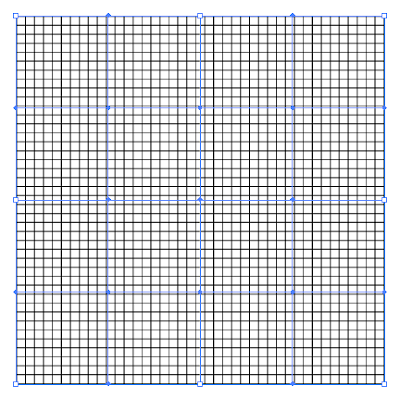
Result
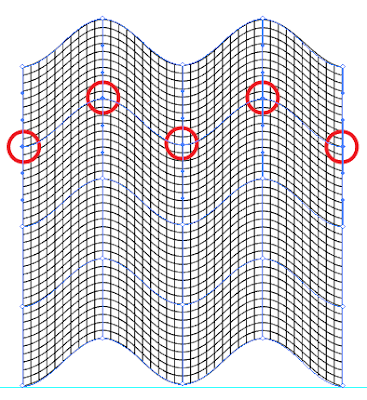
Thus, hold another column anchor points such as above and move or draw them like below....
4. Again, Take Direct Selection Tool (A) and now select a row anchor points
of mesh, at once.
Draw like that
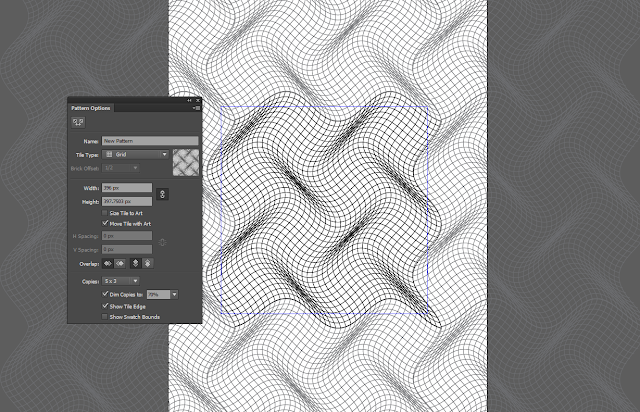
5. Now, Select it and create a pattern Object > Pattern > Make and save.
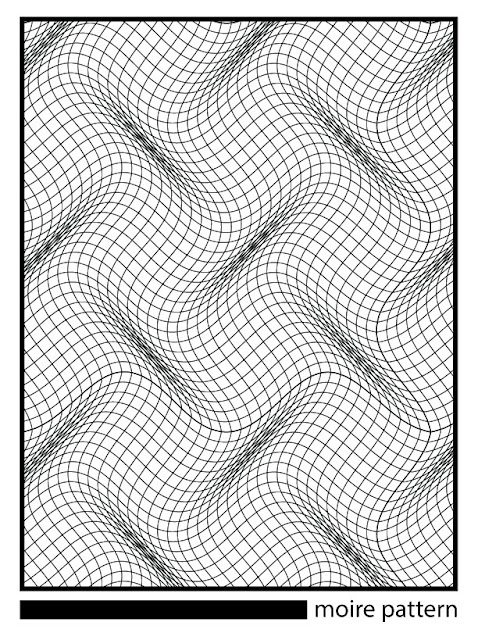
6. Finally, Apply your pattern from Swatches Panel .
Hope you've got something new tips and tricks! If you've any query then, feel free to ask or comment about this tutorial.







No comments:
Post a Comment